Table of Contents
Creating and Managing a VPS
Creating a VPS
Members are allowed to create VPSs in the playground and the production environment provided that they have enough resources and their environment settings allow it. You can gain resources by lowering the parameters of existing VPSs or paying extra for more resources.
Creating a new VPS consists of three steps:
- choosing an environment
- choosing a location
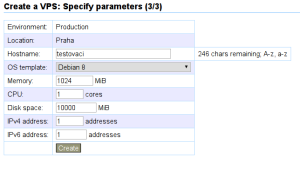
- choosing a hostname, distro and parameters
IP Addresses
Each member gets 1 public IPv4 address and 32 /64 IPv6 addresses in each environment. These addresses can be distributed between various VPSs as you please. Additional IPv4 addresses are available for a fee, IPv6 addresses are given upon request.
You can find more information about the management and various types of IP addresses here.
Root Password
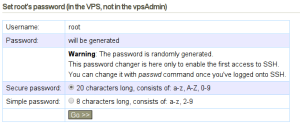
When setting the root password, you can choose between two types of generated passwords. A simple password is easier to write down, but keeping it active for an extended period of time is not a good idea.
SSH Public Keys
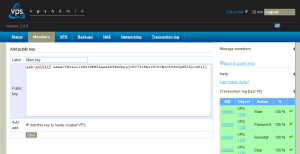
You can upload your public keys to vpsAdmin at Edit profile → Public keys → Add public key.
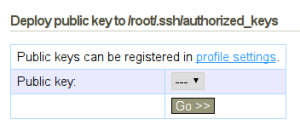
The keys can be configured to be automatically deployed to new or reinstalled VPS. Alternatively, you can deploy individual keys to VPS on demand from VPS details page:
Initial configuration
It is possible to add script or cloud-init configuration that is run when the VPS is first started, see User Data.
Choosing a Distro
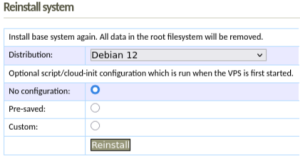
The distro reinstall form now makes it possible to just update the information about the distro which is used in a VPS. An example case of when you can use this is when you update your system to a newer version and the distro displayed in vpsAdmin doesn’t correspond to reality.
Reinstalling the system deletes all data in VPS root file system.
VPS Parameters
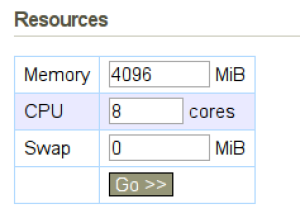
It is possible to change VPS parameters in the VPS details. The minimal configuration of a VPS is 1 CPU, 256 MB of RAM and 512 MB of disk space. The maximal configuration is 8 CPUs, 16 GB Of RAM, unlimited disk space.
If you want to create a new VPS, you need to make space for it – decrease the parameters of a different VPS or ask the support for more resources.
Hostname
The VPS hostname can be changed directly in vpsAdmin and each time the VPS starts, the chosen option in /etc/hosts will be automatically rewritten. The hostname can also be managed manually, outside of vpsAdmin. You can choose which solution you prefer in the VPS details.
Features
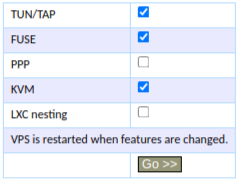
Features can be turned on/off individually. When any change is made, the VPS restarts.
- TUN/TAP - “TUN routing/TAP bridging” Allows access to virtual network interfaces, e.g. for VPN.
- FUSE - “Filesystem in Userspace” Allows access to mounting FUSE-based filesystems.
- PPP - “Point-to-Point Protocol”
- KVM - “Kernel-based Virtual Machine”
- LXC nesting - Needed to use LXC/LXD containers inside the VPS
Cloning VPSs
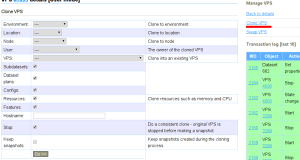
You can either clone to a new or to an existing VPS. If you’re cloning to an existing VPS, the original VPS and all its subdatasets are removed!
In the form, choose the environment, locations or VPS to which you want to clone the VPS that is currently open.
Setting the Time for Planned VPS Maintenances
The appropriate time for planned VPS maintenances can be set differently for every day of the week.
During this time period, short VPS outages can occur if it’s absolutely necessary. This is mostly used when migrating VPSes between nodes. We always inform about maintenances and migrations on the email that you have provided in vpsAdmin.
